For 2019, I had a goal to self-publish a comic book using Amazon’s KDP platform. Why? Because I wanted to know how to do it. I heard a lot of great things about the KFP platform and I already had a comic book that I was working on from 2018. I just needed to add some finishing touches to the book so that I could publish it on KDP. The process was a fun and sometimes frustrating experience. I decided to write a small tutorial since there are not many articles out there going though the whole process and many of the articles that I found were outdated.
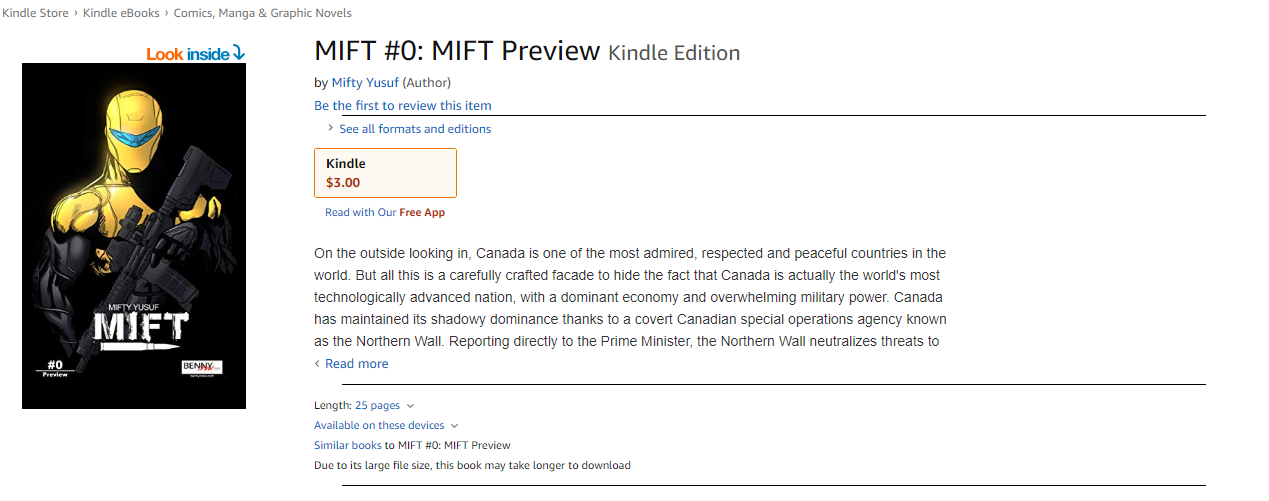
This tutorial will cover how I got my comic book MIFT #0 published on Amazon’s KDP Platform. You can view the actual Amazon listing here and purchase the kindle book for just 3$.
The tutorial is separated into 2 sections:
- How to create a digital version of your comic (a .mobi file) from your comic pages using Amazon’s Comic Creator
- How to upload your .mobi file to KDP and get your comic or graphic novel published
One thing to note is that I am assuming in this tutorial is that you have already created your comic pages and that you already have a KDP account. So let’s jump into part 1: creating a kindle version o your comic book.
In order for you to get your comic published through KDP, you have to use Amazon’s Kindle Comic Creator, which is a free tool provided by Amazon. According to Amazon:
Kindle Comic Creator is a free tool for authors and publishers to turn their comics, graphic novels and manga into Kindle books. The tool makes it easy for authors and publishers to import artwork, create their preferred customer reading experience, and see how their book will look on Kindle devices.
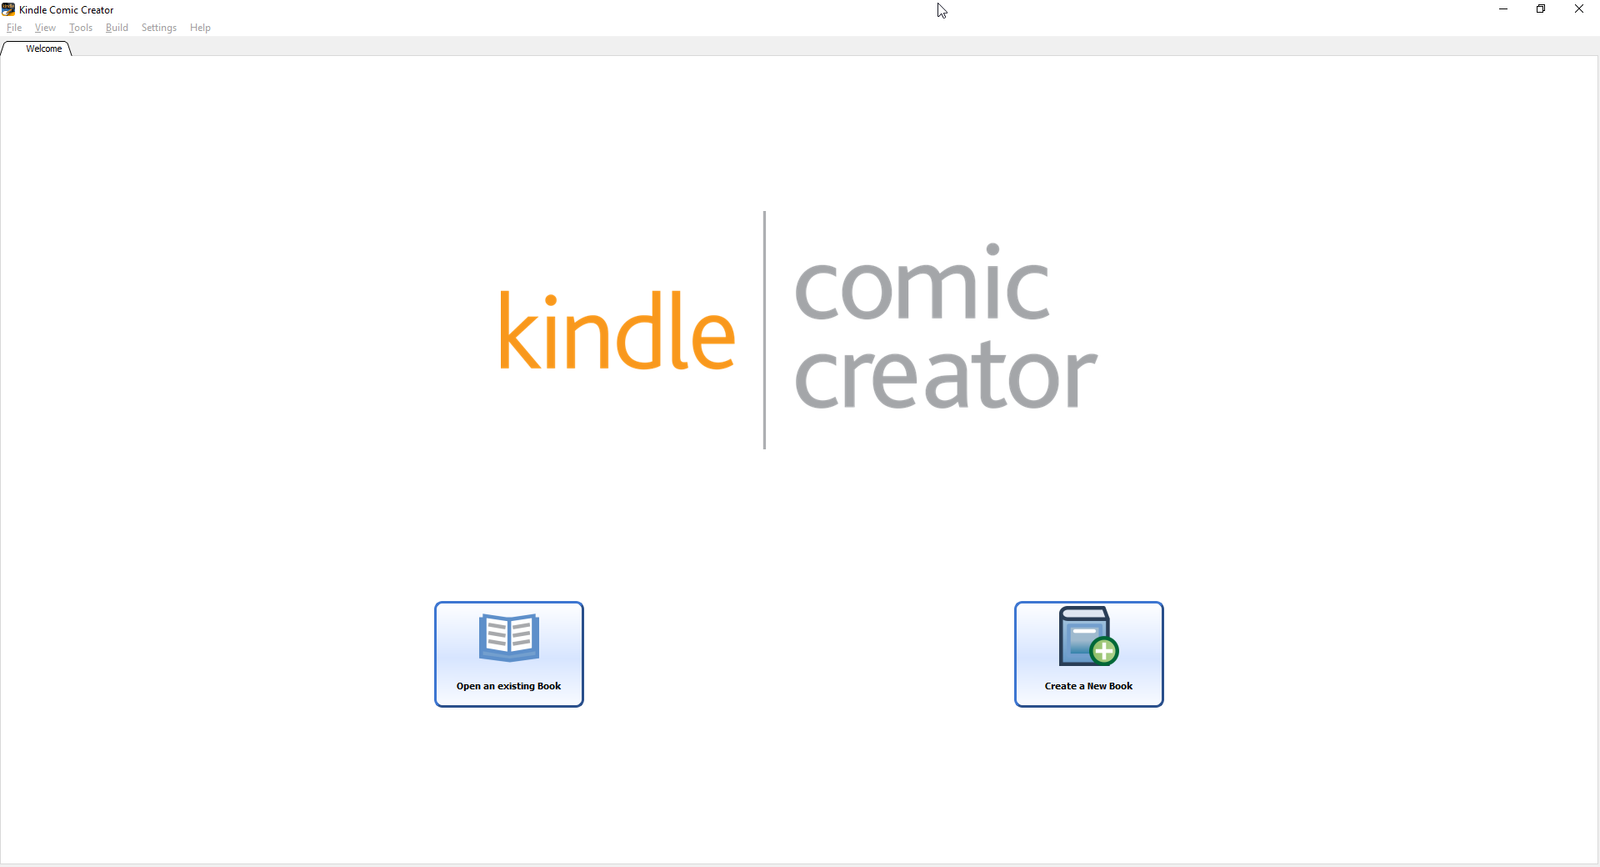
Here is a screenshot of Kindle Comic Creator:
![]()
Comic Creator is available for both MAC and PC. I used the PC version on multiple PCs (all my work is saved on Dropbox so that I can access the files from multiple devices) With Comic Creator, you are able to:
- Import your artwork from common file formats like jpg, pdf, tiff, png and ppm
- Create guided navigation experience with Kindle Panel View (Which is super awesome by the way. Definitely my favorite part of the Kindle comic reading experience)
- Create books with double page spreads or facing pages
- Preview content across Kindle devices before publishing
Overall, Kindle Comic Creator is a pretty simple and easy-to-use application. But be warned: Kindle Comic Creator is not very stable. In fact, it crashes… a lot! While trying to create my comic, it must have crashed at least 10 times, on 3 different PCs running Windows 10. So my advice when using Kindle Comic Creator is to save fast and save often or risk losing all your work.
So here are the steps for creating a Kindle version of your comic book:
Step 1: open Kindle Comic Creator and add your comic pages
Once you open Comic Creator, it will ask you to create a new project or open an existing project. Since this tutorial is assuming that we are creating our project from scratch, choose “Create a New Book”.
Once You choose to create a new book, you will be presented with 2 option screens. The first screen is your panel selection options and the second screen is your book settings.
Panel Selection Options
The panel selection option allows you to choose the layout of your book and if you want to use Kindle Panel View (which every comic book or graphic on Kindle should use).
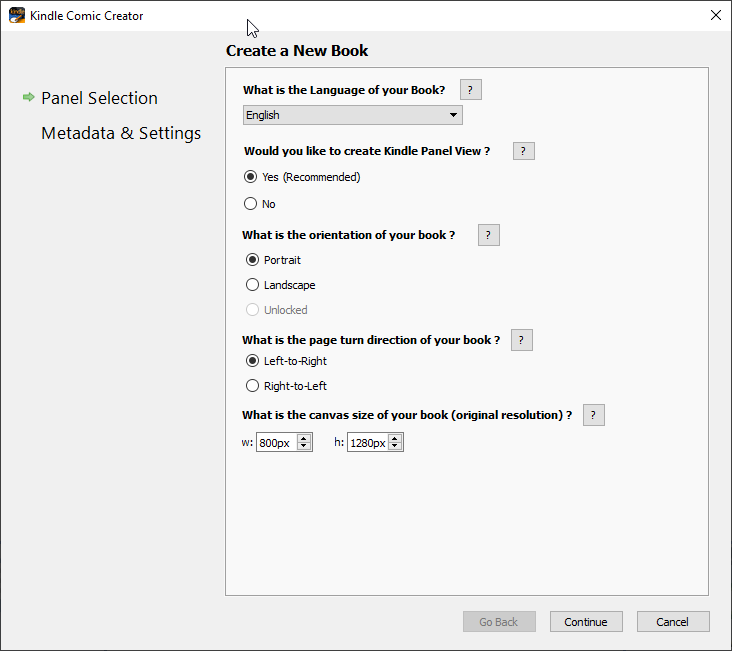
The panel selection options that you need to choose include:
- What is the language of your book: This is an irrelevant option since the words of our comic book is embedded into the art, so I simply chose English. (But According to KCC, the language is used to recommend various settings)
- Would you like to create Kindle Panel View: Kindle Panel View is a guided navigation experience. It allows the author to control the flow of story as readers progress through the book. Kindle Comic Creator can automatically detect Kindle Panels but its not always very good so you should manually edit your panels. (more about the panel view later in this tutorial)
- What is the orientation of your book: Options include Portrait, Landscape and Unlocked. Note: If you are using panel view, you will not be able to select the Unlocked mode. It took me several hours to discover this but Panel View does not let you choose unlocked mode. And you can only create 2-page spreads if Panel mode is off.
- What is the page turn direction of your book: Options include Left-to-Right and Right-to-Left. For page turn direction, select Left-to-Right or Right-to-Left based on the page turn used for language of your book
- What is the canvas size of your book (original resolution): Original resolution size reflects the full dimensions of the image. The default values are width: 800 px, height: 1280 px. The maximum value permitted for either setting is 1280 px. If the image dimensions are wider or taller than 1280 px, please enter scaled down values in correct aspect ratio of your images. Kindle will maintain aspect ratio for your book based on values you enter.
Book Setting Options
The book setting section allows you to define your book’s metadata. This includes things like the title, author and publisher. Many of these options can be changed later on as well
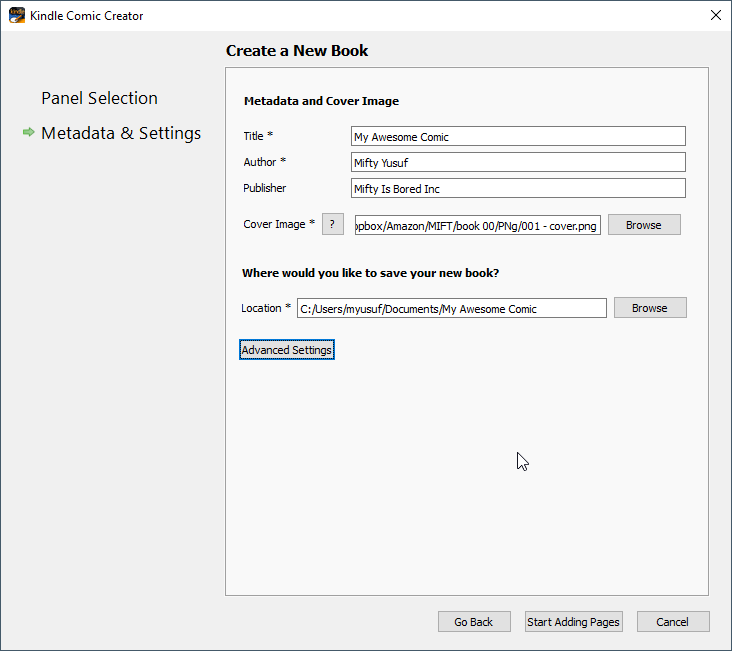
The options that we need to set are:
- Title: The title of the book
- Author: the name of the author
- Publisher: the name of the publisher (it can be the same as the author)
- Cover Image: the path to the cover image for your book.
- Location: The path to where all the files for your Kindle comic book project will be saved. This is also where your .mobi output file will be created.
Adding pages to your comic book project
Once your project is created, you can now add pages to your comic book. Here is what the main screen will look like:
![]()
At this point, you can start dragging files into your comic book project. Whenever you add a file, it will show you that file’s content and you can drag the file up or down. You can import one or multiple files at a time. And what I really like is the fact that Kindle Comic Creator will create resized versions of your files if the original files are larger than the 800×1280 pixel size that it is expecting. (For anybody curious, the scaled images are located inside the html/scaled-images folder of your comic project.)
Once you’ve added all your pages, you will be able to scroll through the various pages of your book. Here is a look at the comic project for my book MIFT Issue #0:

Since this is a digital book for Kindle, you do not have to worry about which page needs to match with which page. If you have a 2-page spread, you can simply import your 2-page spread as a single page into the application and it will readjust the view for your 2-page spread. Keep in mind that this is only true for comics and graphic novels that use panel view. If you have disabled panel view, then you will have to worry about matching the various pages and comic creator will give you an option to collect pages into a 2-page spread. But remember, Panel View is the selling point of comic books on Amazon’s Kindle viewer. So you want to make sure to take advantage of the panel view.
Step 2: Add Panels for Panel View
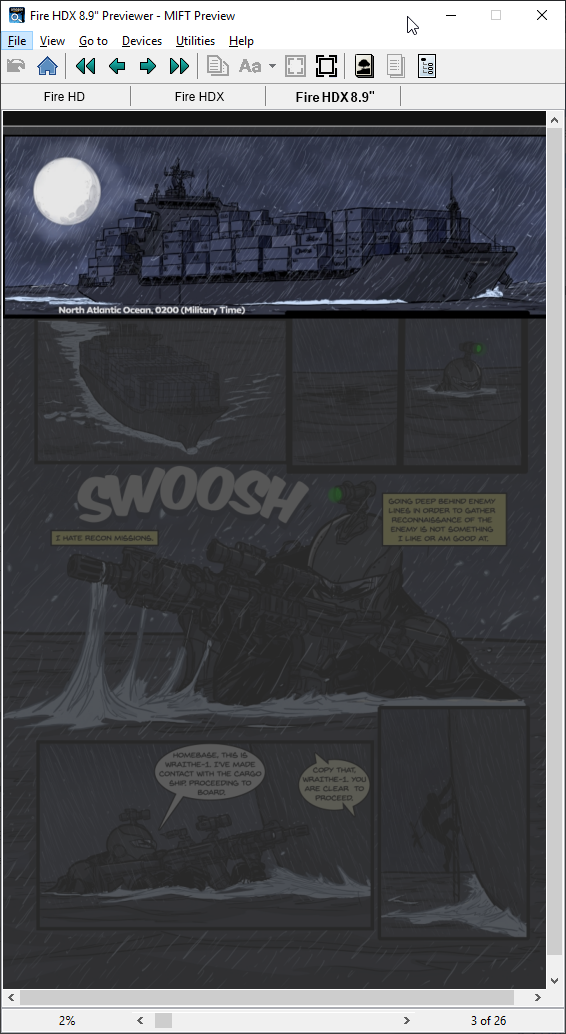
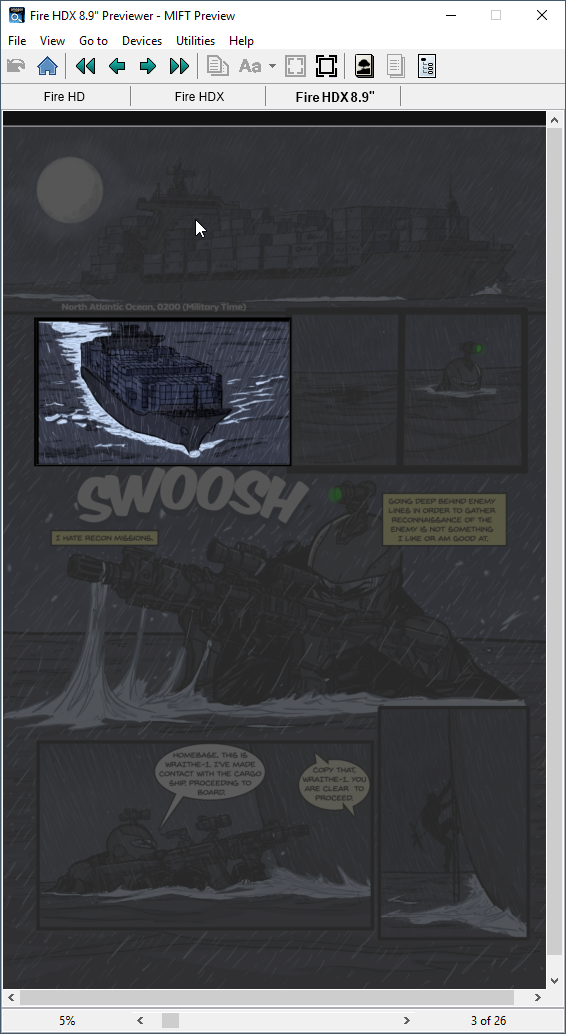
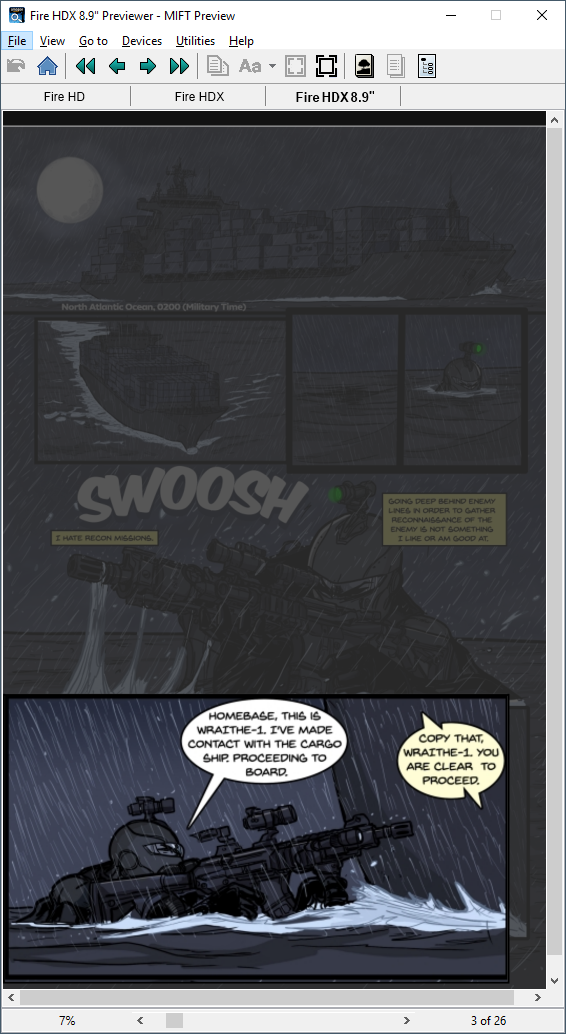
Once all of our pages have been created, we are ready to define panels for Panel view. This option will only be available if you chose Panel view when you created your project. I honestly think that every comic book for a Kindle device should use the Panel View feature because it allows you to easily guide the user from panel to panel as they read your book. I setup panel view for my book and here are a couple of screenshots of panel view using the previewer:
Now that you see how cool panel view is, let’s go ahead and add panels for our panel view. To add a panel for any page, right-click to get the context menu and choose “New Kindle Panel”
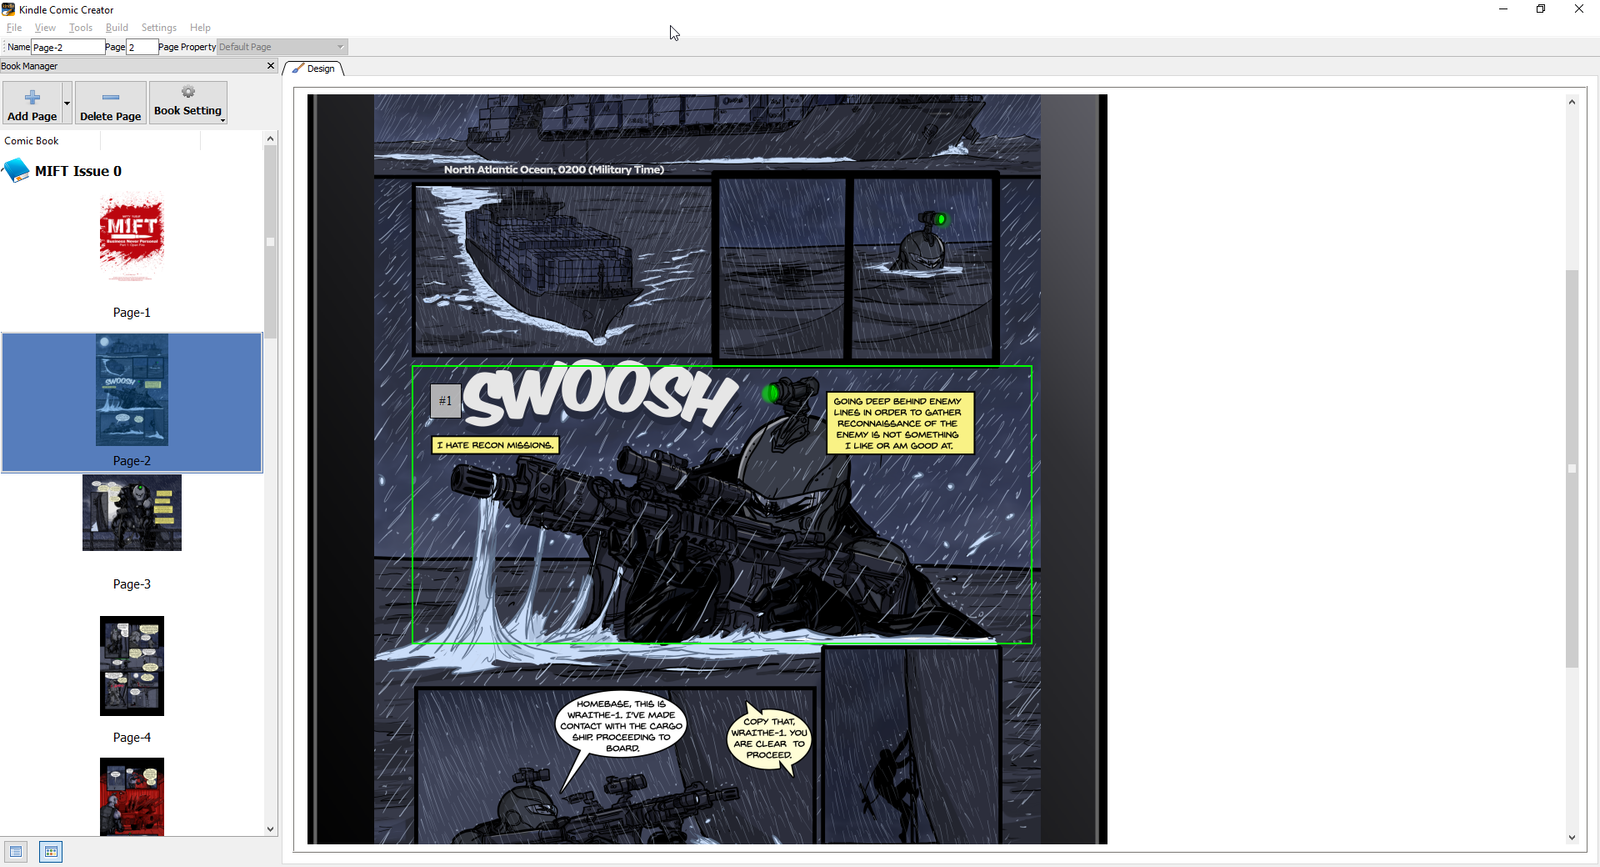
Once you have crated your panel you will see it as a green box around your panel. There is also an option to manually detect all panels on the current page or all pages. However, this option only works well if all your panels are well laid out with nothing fancy. It did not work well for me so I ended up manually creating my panels for my comic. Here is a sample page with all panels created inside Kindle Comic Creator:
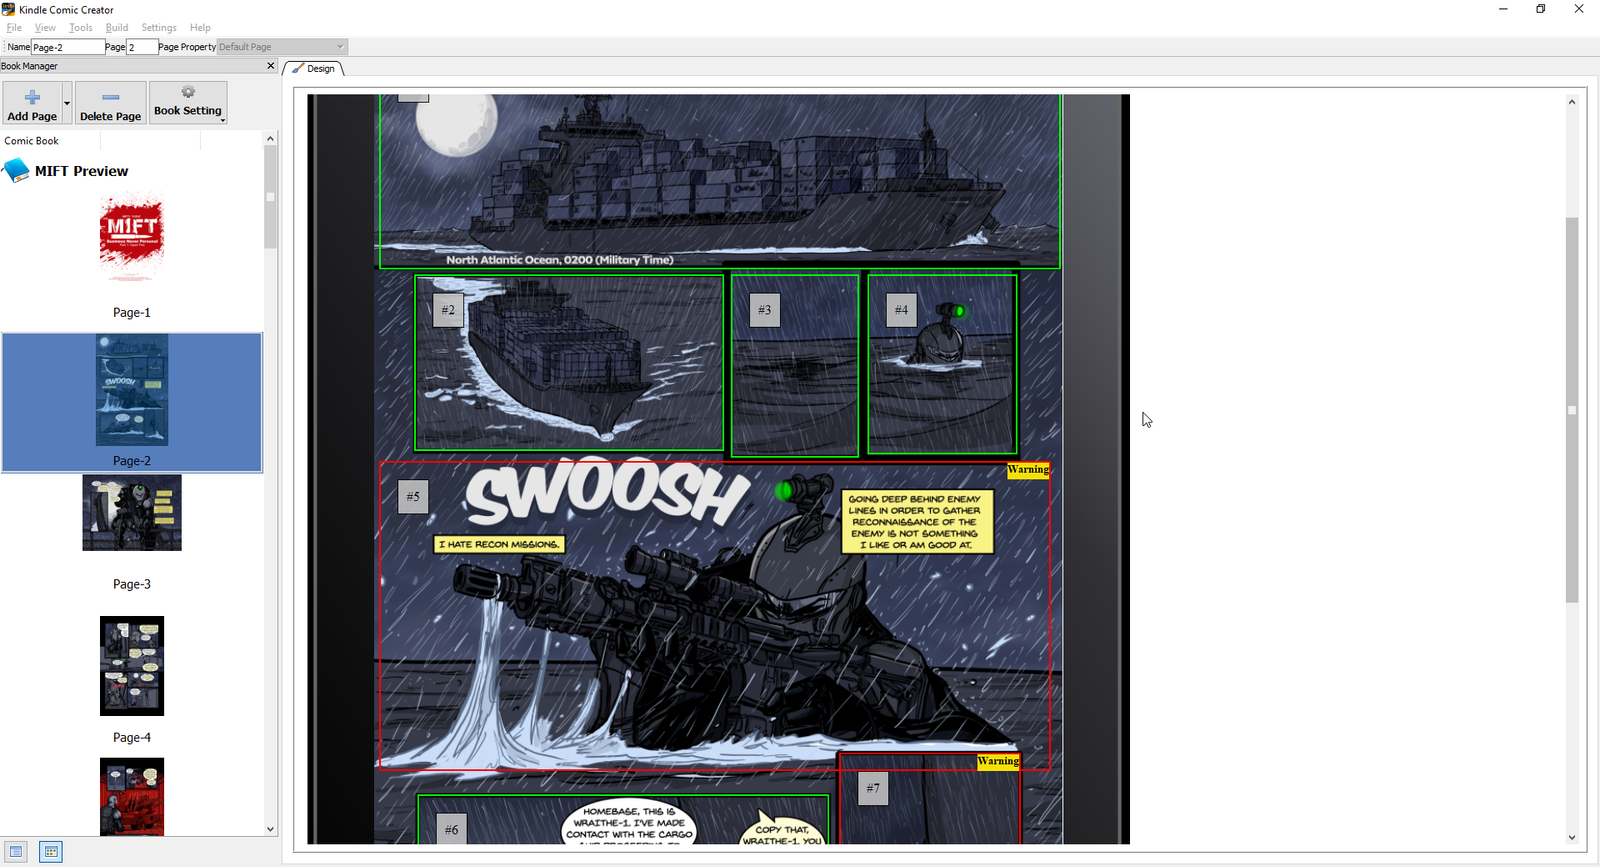
The nice thing about the panel view is the element of surprise that it creates since all other panels are blocked off except the current panel that you are looking at.
Don’t worry if your panels overlap. Its not recommended and comic creator will give you a warning but you are allowed to overlap panels.
Step 3: Preview and Export your Comic to .mobi format
Now that your pages have been imported into comic creator and your panels have been defined for your various pages, you are ready to export your file to .mobi format.
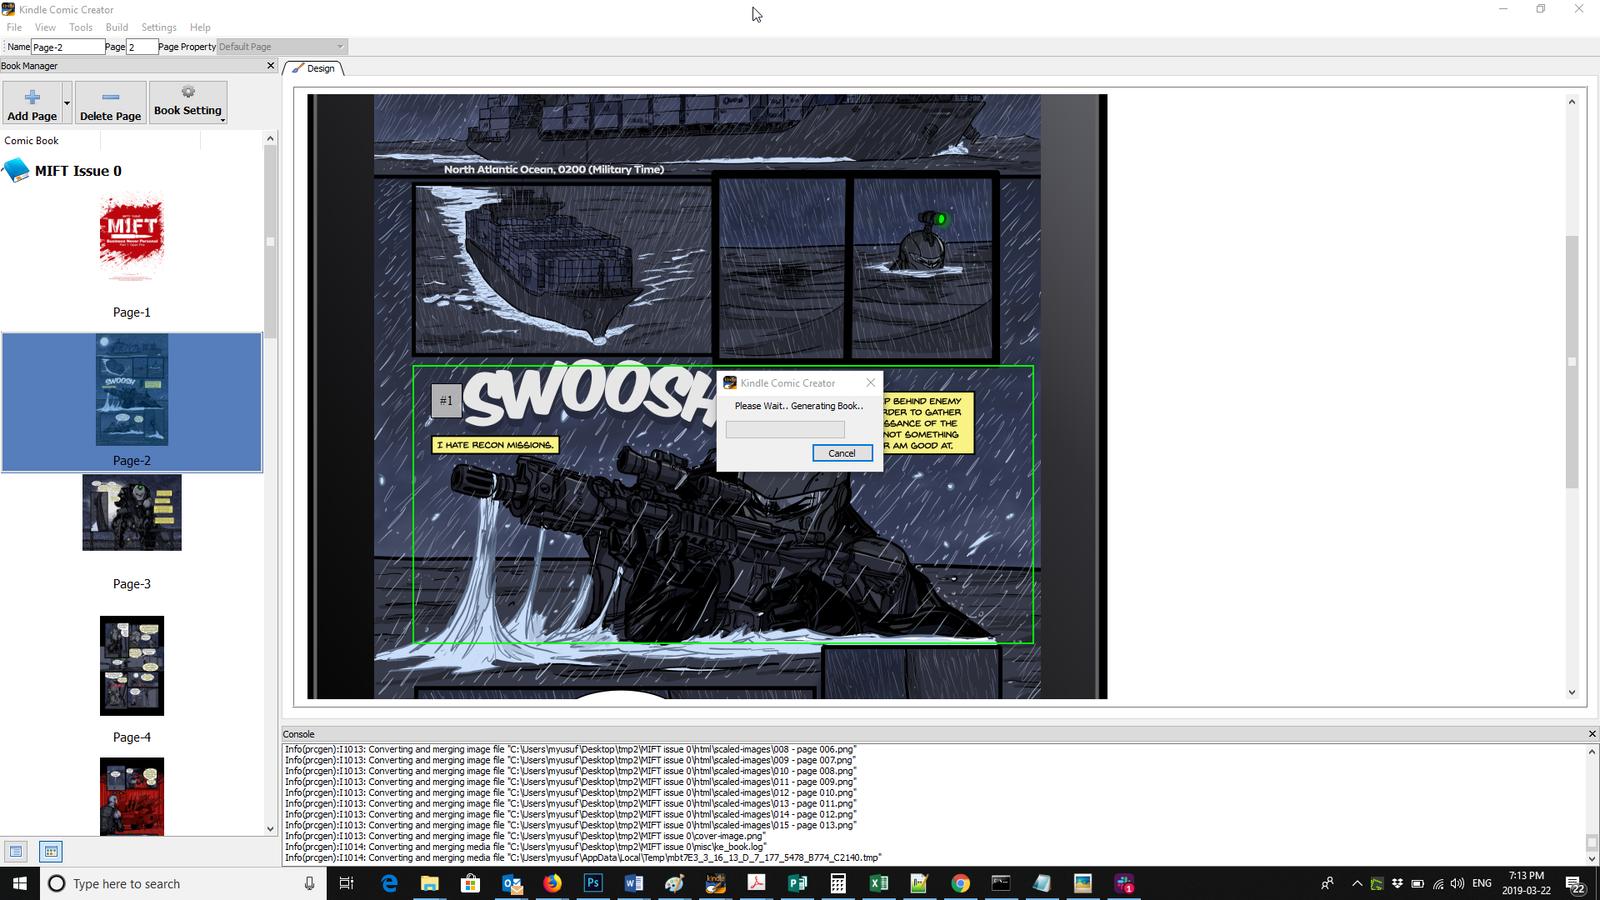
In the file menu, click the “Build and Preview” option, located under the build menu section. This will start the process of creating a .mobi file from your comic book project. The export process is pretty long (It can take several minutes.) but the application does a pretty good job of telling you what is going on. Below is a screenshot of my project as it is building.
Once the export process is complete, comic creator will automatically launch the kindle previewer with your comic book loaded. This is your chance to preview how your comic book or graphic novel will look on a kindle device. Below is a screenshot of my comic on the previewer.
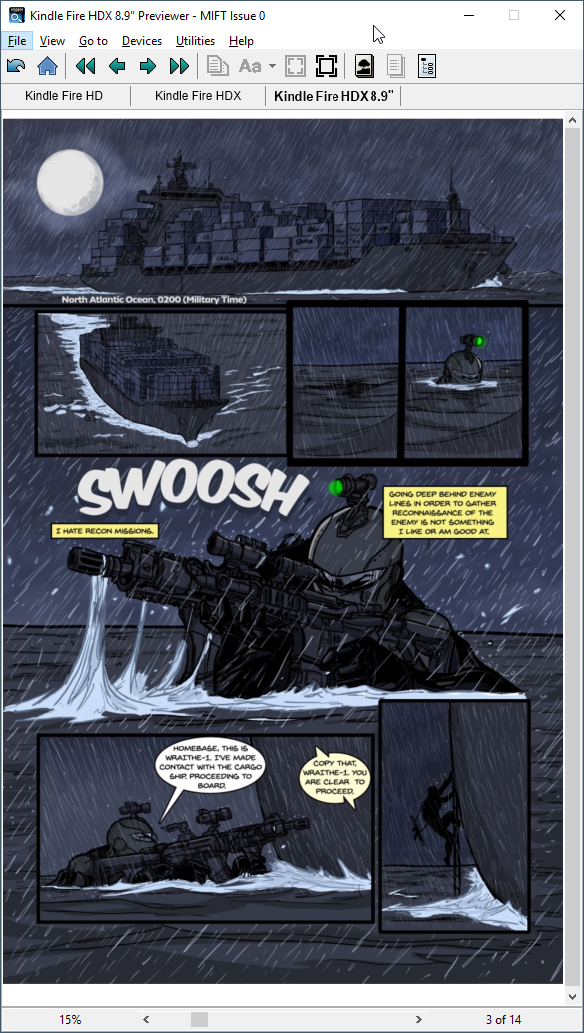
If you enabled panel view, you can double-click on any panel to start panel view. Once panel view is started, you can navigate from panel to panel by using the left and right arrow buttons. This is the time where you should look for errors with panels such as the ordering of our panels or maybe a panel size.
You should write down any issues that you find while previewing your comic. Once you close the previewer, you can go back to your comic project to make whatever changes you need to make. Once your changes have been made, you can rebuild your project and re-check your changes.
Once all your changes have been made and you are happy with the preview, you are ready to upload your .mobi file on KDP. The mobi file is located inside your project folder.
Now that you have a .mobi file version of your comic book, you are ready to get it published on KDP. Hop on over to the second part of this tutorial to learn how to publish your comic on KDP.


Awesome tutorial and congrats on getting your book published mifty. I love the pages that you previewed and will be picking up a copy. I also recently completed my own book and have followed your tutorial to try to get it on kindle. but I keep getting this error: Warning(prcgen):W14225:Mobi could not be built with HD images because it exceeds the maximum file size limit. Falling back to Mobi building with SD images
Any ideas? please help
Hey Todd,
Got the same issue on my laptop that is connected to my dropbox account. The project was located in the Dropbox folder and it seems that dropbox was constantly updating, causing the dreaded Warning(prcgen):W14225:Mobi could not be built with HD images because it exceeds the maximum file size limit. Falling back to Mobi building with SD images error. you have 2 choices:
Thank you for the very intuitive tutorial! Any chance you could provide a link to Part 2 of this tutorial? I could not find it listed in your Tutorials section, nor did a search render any results.
great!!!!
Good luck!
thank you