![]()
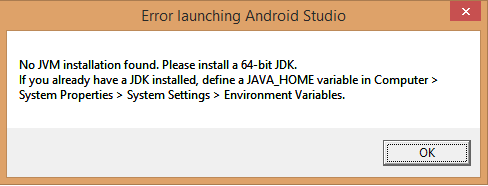
I recently got back to Android programming and realized that Eclipse with ADT is no longer the default IDE. The good folks at Google have decided that Android Studio is now the official IDE for Android. Since I recently got a new laptop, I decided to install it and give it a try. (Be aware that the installer is pretty large. The file is around 850MB) After installing the application on my Windows 8 machine, I kept getting the following message:
No JVM installation found. Please install a 64-bit JDK. If you already have a JDK installed, define a JAVA_HOME variable
This error was occurring even though I had installed The latest version of the JDK. Here is a screenshot of the error I was getting
How to fix the cissue
Below are the steps to take to fix the issue
1 – Install and Download the JAVA JDK
In order to fix the issue, you first have to make sure that you have a version of the JAVA JDK installed on your PC. You can download the latest version of the JDK from Oracle. If the JDK is istalled on your PC, you will be able to locate the path C:\Program Files\Java\. If this path does not exist, you probably do not have the JDK installed. If the path exists, you should find a folder called jdkX.X.X_X where X.X.X_X is the version of the JDK that you installed.
2 – Define the JAVA_HOME variable in your Environment Variables
Now all that is left is to setup the JAVA_HOME path in your environment variables. To do so, you need to right-click on “My Computer” and click “properties”. Once you do, you then have to find the Advanced System settings. Once you are in the advanced system settings, click on the Environment Variables button to setup the JAVA_HOME path.

When you click on the Environment Variables button, You will then see all the environment variables that currently exist on your PC. You can then click on the “New” button in “System Variables” to create a new environment variable called JAVA_HOME.
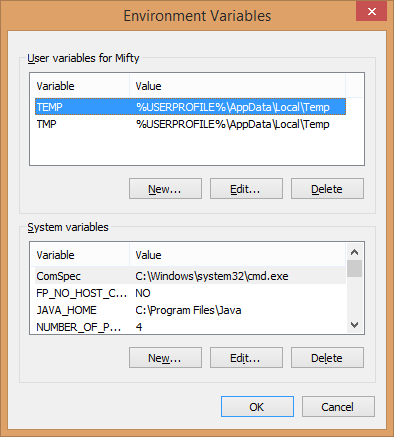
This environment variable should point to the base path of your JDK. In this tutorial, I am using version 1.8.0.25 of the JDK so my full path is “C:\Program Files\Java\jdk1.8.0_25”

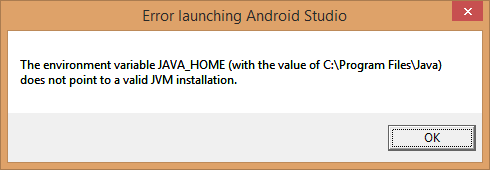
Once you do this, the problem with JAVA_HOME should be resolved and you should now be able to use Android Studio without any problems. However, if you do not setup your JAVA_HOME path correctly, you will get the following error message
One last piece of advice is that you should be aware that there is a 32-bit and 64-bit version of the JDK. Make sure that you download and install the version that matches your operating system. So, if you are running on a 64-bit version of WIndows, it is recommended to install the 64-bit version and vice-versa if you are running a 32-bit version of Windows. With that, you should be good to go. So far, I’ve been playing around with Android Studio for a few days and I have to say that I love it! I’ll miss Eclipse but Android Studio seems to be a winner.


[…] Источник […]
[…] Источник […]